How to photograph your own art collection
To photograph a painting without glare, light it from the side at roughly a 45-degree angle instead of straight on, turn off any flash, and keep the camera parallel to the canvas so reflections bounce away from the lens rather than back into it. Indirect window light works as well as studio lights.
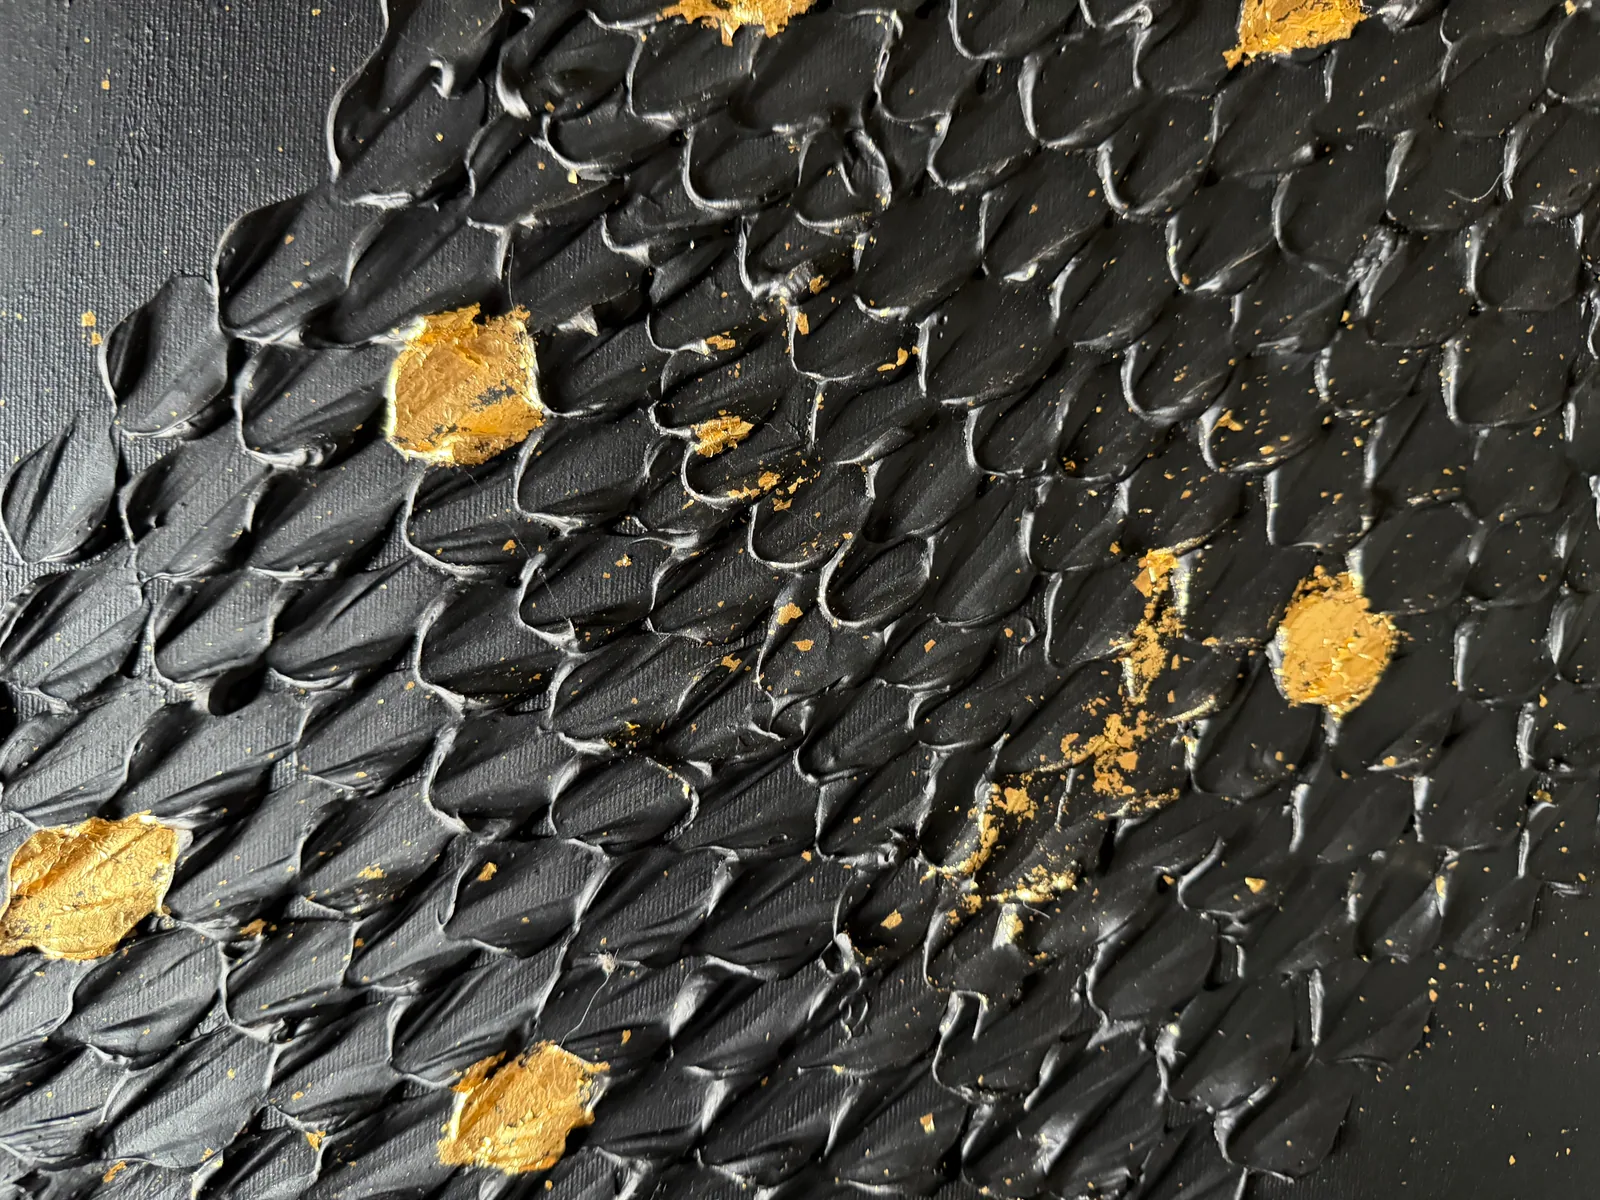
Why glare shows up in the first place
Glare happens when a light source bounces straight off the surface of the painting and into the lens at the same angle it arrived — a straight-on flash is the most common cause, because the light travels the same path the camera does. Guidance from Call for Entry's artist resource is direct about this: photographers should "make sure your flash is turned off" before shooting artwork, since it "will create hot spots on your work." The same source notes that indoors, "indirect light is best."
A glossy varnish, gold leaf, or high-contrast finish makes the problem worse, because these surfaces reflect more directly than a matte one. That is also why the same piece can look perfectly clear in one photo and blown out with a white patch in another — nothing about the paint changed, only the angle of the light.
Light the canvas from the side, not from the front
The fix used by professional art photographers is a lighting angle, not a special camera. Call for Entry's guide describes positioning lights "on either side of your work" and pointing them "at a 45-degree angle towards the work." Photography educator Tim Grey describes the same setup as standard practice: "the standard 45-degree orientation of two lights" placed far enough from the artwork "to provide uniform illumination."
The principle behind the angle is simple: light hitting the canvas at 45 degrees reflects away to the side, not back toward the camera lens. Straight-on light has nowhere to go but back the way it came.
Diffusion helps as much as the angle. Grey's advice is to make sure "the light source is diffused" — with an umbrella or softbox in front of a studio light — "so that the light is scattered to minimize glare." For daylight, Call for Entry's guide gives the same idea in household terms: drape "a white sheet over the light source" — whether that's a lamp or a window — to soften the light before it reaches the canvas.
Keep the camera parallel to the canvas
Angle isn't only about the light — the camera position matters too, for a different reason: distortion, not glare. Call for Entry's guide is specific here: "the camera should face the artwork head-on," with the lens lined up on the center of the piece, and "the plane of the artwork is parallel to the back of the camera." A tilted camera angle stretches one side of the canvas in the frame, which is a problem for a record photo even when the lighting is perfect.
In practice, this means: stand back far enough to fit the whole canvas, center it in the frame, and check that the top and bottom edges of the painting look level and parallel in the viewfinder before you shoot — not just the general framing.
What to skip unless you actually need it
Two techniques that come up in professional photography guides are worth knowing about, but they are not what makes a usable record shot: a polarizing filter on the lens (paired with polarizing gel on the lights) can cut reflections on especially shiny or textured surfaces, and photographing a piece before it is framed under glass avoids an entirely separate layer of reflection. Both are real techniques for gallery-grade reproduction, and both require gear most people photographing their own collection at home don't have and don't need for a documentation photo.
What actually solves glare for a phone photo taken at home is the light angle and a level camera — the two things above. Filters and unframed studio setups are the next step up, only worth it if a shot is going to print or to a gallery submission.
From the studio
The olhar do ateliê: how Alyne actually photographs a finished piece
Nothing in my own documentation process involves a studio light kit or a colour-reference card. I photograph every finished piece myself, with my phone, using natural light from a window — no flash, no filter, no professional photographer brought in. It's the same light-from-the-side principle described above, just without the equipment: standing near a window during the day, I let the light fall on the canvas from the side rather than head-on, because front light is what makes a textured or gold-leaf surface go flat and glare-prone. I avoid direct sun on the canvas itself, since it blows out the highlights the same way a flash does.
I don't edit the files afterward — no filter, no saturation boost — because a documentation photo that doesn't match the real piece is worse than no photo at all: a collector who receives a work compares it against exactly this image. If a shot comes out dark or shaky, I simply take it again rather than trying to fix it after the fact. It's a deliberately low-tech process, and it's the same one I use for the surface-detail and signature photographs published on each artwork's page.
Frequently asked
Do I need studio lights to avoid glare, or does a window work?
A window works. What matters is the angle and the diffusion of the light, not its source. Indirect daylight from the side of the canvas, on an overcast day or away from direct sun, does the same job as a diffused studio light — it just requires positioning the canvas and yourself relative to the window instead of a lamp.
Why does my phone photo have a white blown-out patch on the painting?
That patch is a direct reflection of the light source — usually a flash or an overhead light — bouncing straight back into the lens. It happens because the light is hitting the canvas at close to the same angle the camera is viewing it from. Moving the light source (or yourself, if it's a window) to the side, at roughly 45 degrees, usually removes it.
Should I turn my camera flash off when photographing a painting?
Yes. A flash sits right next to the lens, so the light it produces travels almost the same path back into the camera, which is exactly the setup that causes hot spots and glare on a painted surface. Indirect ambient light, even if it means a longer exposure or steadier hands, gives a truer result.
Does a glossy varnish or gold leaf make glare worse?
Yes. Glossy and metallic finishes reflect light more directly than a matte surface, so they show glare at angles and light levels that a flatter painting would tolerate. Side lighting and a level, straight-on camera position matter even more on these surfaces.
Do I need a polarizing filter to get a clean photo?
Not for a personal or collector record photo. A polarizing filter on the lens, combined with polarizing material on the lights, is a technique used for gallery-grade reproduction of especially reflective surfaces. For a documentation shot at home, correcting the light angle and keeping the camera parallel to the canvas solves the same problem without extra gear.
How does Perfeito Studio photograph its own artworks for the record?
With a phone, natural window light, and no flash or filter — the same side-lighting principle covered above, applied by hand rather than with studio equipment. The goal is a photo that matches the real piece as closely as possible, since collectors compare the delivered artwork against exactly these images.
Questions about how a specific piece is documented?
Every acquisition from Perfeito Studio ships with high-resolution images, a signed Certificate of Authenticity, and the artwork's technical sheet — talk to the studio directly on WhatsApp.
Sources
- CaFÉ (Call for Entry) — 2026-09-26
- Ask Tim Grey — 2026-09-26
Published on